- Make It Yourself Lavender Heart-Shaped Bath Bombs!
- 20 Things You Never Knew About “Down There”
- 12 Best Foods For Those Suffering From Arthritis Pain
- 12 Personal Hygiene Mistakes Almost Everyone Makes (Mom Never Told You About #4!)
- 15 Medicinal Plants And Herbs From The Cherokee People
- 12 Mind-Blowing Benefits Of Drinking Coconut Water During Pregnancy
- 12 Outstanding Winter Foods That Won’t Fatten You Up Like A Christmas Turkey
Super Healthy School Lunch Ideas

Photo credit: bigstock.com
Ok, so the holidays are over and the kids are back in school, YAY! Now you need to come up with creative school lunches that are healthy so your kids don’t eat junk food … YUCK.
Making school lunches can be difficult. Kids can be picky about what they eat, and if they don’t like what’s in their lunch, they will trade it away or just eat the stuff they like, then buy something afterwards or even buy junk foods from other kids.
One thing that can help you avoid this is to let your kids pick some of the foods they will eat, as well as letting them help to prepare their lunch as much as possible. This will help to avoid having your kids trade away their lunches. If they like what they packed, they are much more likely to eat it.
Most children love to help out in the kitchen and are usually able to do much more than you think they can. One way to get your kids started is to let them take out their own lunch containers and get them ready.
If you are like most of us, you want to avoid plastic as much as possible but it seems as if most kids’ lunch boxes today are made from plastic and contain plastic sandwich holders and plastic beverage containers. Most schools don’t want you to use glass (we wouldn’t recommend it for this purpose either), so this limits your choices.
The best lunch containers to use are the steel lunch boxes that you often see construction workers tote to work. These might cost a bit more at first, but they are washable and last forever. Also, your child can decorate it with stickers, markers, or however they like. Add a few containers such as silicone bottles for drinks, stainless steel insulated thermos containers for things like soup, steel water bottles for drinks, and other types of silicone or steel containers for other items. You can find a tons of options online if you cannot find these items at your local stores.
Put all these containers in a lower drawer or shelf in the kitchen so that your child can pull out their own containers and get them ready for you. Now, the hard part. The menu.
It helps if you make up a rotating menu with about two weeks’ worth of meals in advance. Of course, you can always change things around to suit your child’s taste or the weather, but this helps to make your lunches easy to make and your child can go two weeks without eating the same thing twice!
Continue to Page 2

Photo credit: bigstock.com
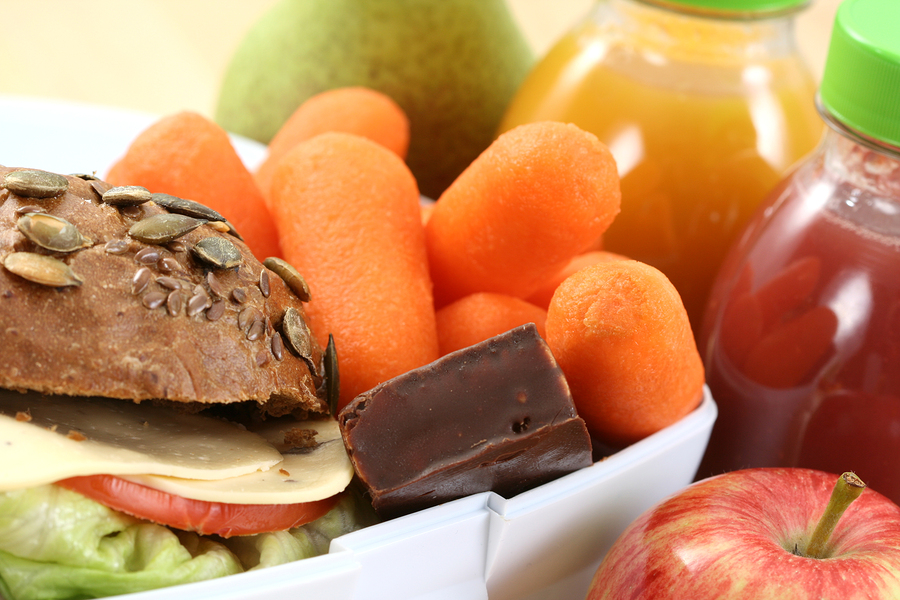
The main course should be a good source of protein. This doesn’t always have to be meat, however, and you can choose something like eggs, beans, or fish sticks.
Now you want to add a side or two. Usually this will be one fruit and one vegetable.
Then add a drink or two and a dessert. When you break down the school lunch into these categories, you can see how much easier things will be.
Let’s look at a few lunch examples. Of course, you will want to alter these to suit your child’s tastes, but this should give you an idea of how to make up the menu that your child can pick from.
- Monday – Turkey, Cheese, and Avocado Rolls, Broccoli florets with homemade Ranch dressing, Melon Slices, Homemade Sweet Potato Chips, Mixed Berry Smoothie and Water.
- Tuesday – Bean, Cheese, and Lettuce Tacos with Homemade Salsa, Avocado slices, Red Pepper Slices, Baked Potato Chips, Yogurt with Blueberries, a Banana, Frozen Yogurt in a Squeeze Bottle and Water
- Wednesday – Homemade Pizza, Chopped Salad with Homemade Ranch dressing, Dates and Nuts, Banana Smoothie, and Water.
- Thursday – Homemade Crackers with Ham and Cheese, Celery Sticks with Almond Butter and Raisins, Orange Slices with Walnuts, Chia Seed Pudding and Water
- Friday – Chicken Fingers with Honey Mustard Dip, Cucumber and Carrots slices, Jell-O, Mango Smoothie, and Water
You will need to adjust these foods to suit your child’s taste but these give you an idea about how to put a healthy lunch together. Make up another week of your child’s favorites and they can simply pick and choose what they would like to eat!
You might want to add another snack or two if your child gets snack breaks. Vegetables are not always easy to stick into a child’s lunch, but when you make them tasty and fun (such as celery sticks with almond butter and raisins) they are much more likely to eat them.
Continue to Page 3

Photo credit: bigstock.com
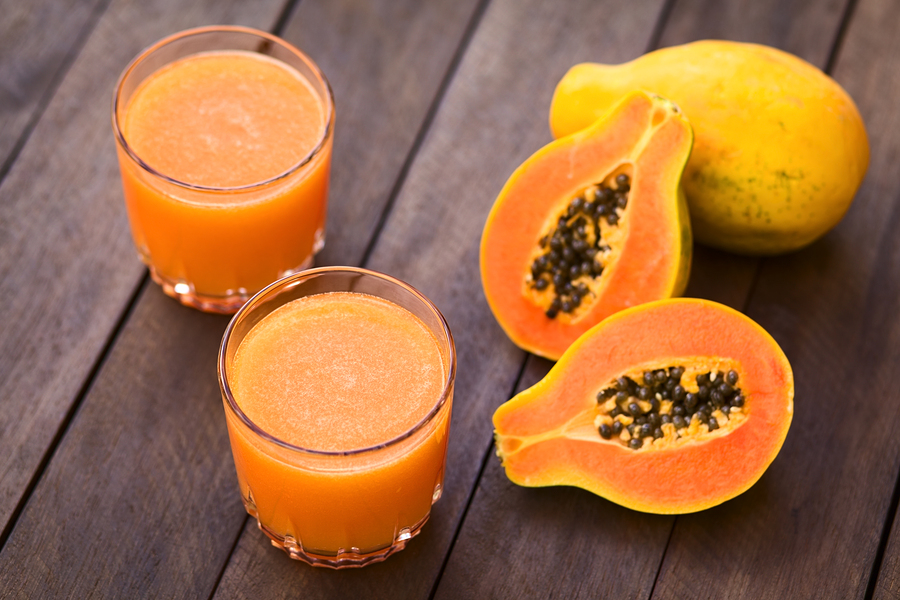
Also, you can sneak in a few fruits or vegetables when you get creative with their drinks. Fruit smoothies, chia seed energy drinks, even frozen yogurt that melts over the course of a morning makes for a healthy, nutritious drink that your child will love.
One last tip; make things even easier on yourself by making a duplicate list and keep it in the glove box of your car or in your purse. When you do your shopping, consider the things that your child will need in order to make most of the lunches on the list you have created. Nothing puts a real damper on things like having your child jumping around the kitchen with joy at the thought of having ham and cheese on crackers, only to find out that you have run out of ham.
When it comes to school lunches, a little planning and organization beforehand will make school lunch planning less of a chore and more of a joy. Let your children do as much of the work (and planning) as you possibly can to ensure an even greater success rate.
Also, when holidays come around, this is the perfect time to slip a little treat into your child’s lunch to let them know you are thinking of them and delight them at the same time. For example, perhaps for Easter (or springtime) you might want to stick an oatmeal cookie in the shape of a rabbit or flower in their lunch. Finding a special treat from you every now and then will make your child look forward to opening that lunchbox and seeing if today is the day mom or dad left a treat in their lunch.
READ ALSO: 5 Super Healthy Back to School Snacks
After an hour or so investment in time to set up the menu and get the necessary items to store your lunch time foods, this system is so easy and so time saving that, after the age of 10 or so, other than the shopping, your child should be able to choose and make their own lunches with little or no help from you at all.
That, my friends, is a blessing! After all, don’t you have enough to do?
References:


