- Make It Yourself Lavender Heart-Shaped Bath Bombs!
- 20 Things You Never Knew About “Down There”
- 12 Best Foods For Those Suffering From Arthritis Pain
- 12 Personal Hygiene Mistakes Almost Everyone Makes (Mom Never Told You About #4!)
- 15 Medicinal Plants And Herbs From The Cherokee People
- 12 Mind-Blowing Benefits Of Drinking Coconut Water During Pregnancy
- 12 Outstanding Winter Foods That Won’t Fatten You Up Like A Christmas Turkey
7 Benefits Of Skin Icing (Love # 4!)
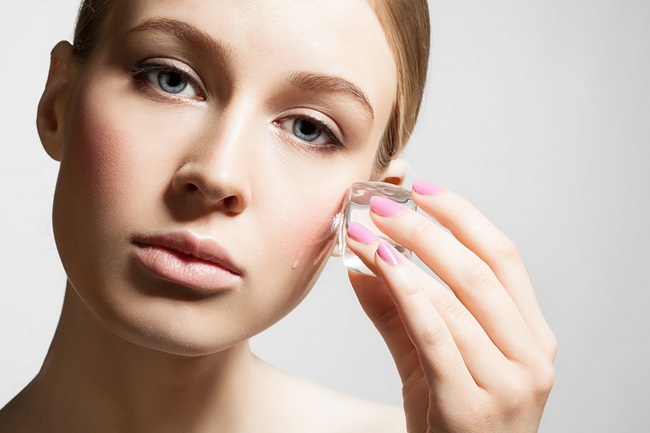
Photo credit: bigstock.com
How to Do It
It doesn’t really take any special equipment or skill to do this trick, so you don’t need to pay a small fortune at the day spa for this treatment.
First, wash your face as you normally would. You can use ice cubes directly on the skin or wrap one or two in a piece of gauze or a small, clean cloth. Once the ice starts to melt and the cloth is damp, apply it to the face. Hold it on the different areas of the face that you wish to ice for one to two minutes, and then move the ice to a different area. You can also move the ice gently in a circular motion from chin to the jawline, then up to the cheeks. Or you can move it across the forehead, down the nose, focusing on one side of the nostril, then the other, then down to the lips.
Once you have finished, gently pat dry, and then apply a moisturizer.
Many people find that icing works best with bare ice. You might want to wear gloves if you choose to do this, as your fingers will not be able to hold onto the ice for more than a minute.
Want even better results? Make ice cubes from herbal teas such as chamomile or green tea to give your skin more soothing compounds and antioxidants that inhibit premature aging of the skin. You can also try freezing some lemon, cucumber, rosewater, or other types of skin-healthy ingredients to make your icing experience the best that it can be.
Don’t use ice if you already have broken capillaries, and never leave ice directly on the skin for more than one or two minutes at a time. If at any time this procedure feels uncomfortable, stop!
Enjoy icing all year long for the most beautiful skin ever!
References:


